Three days gone by.

Another long weekend gone. I will be working next Saturday so we may not make it out next week.

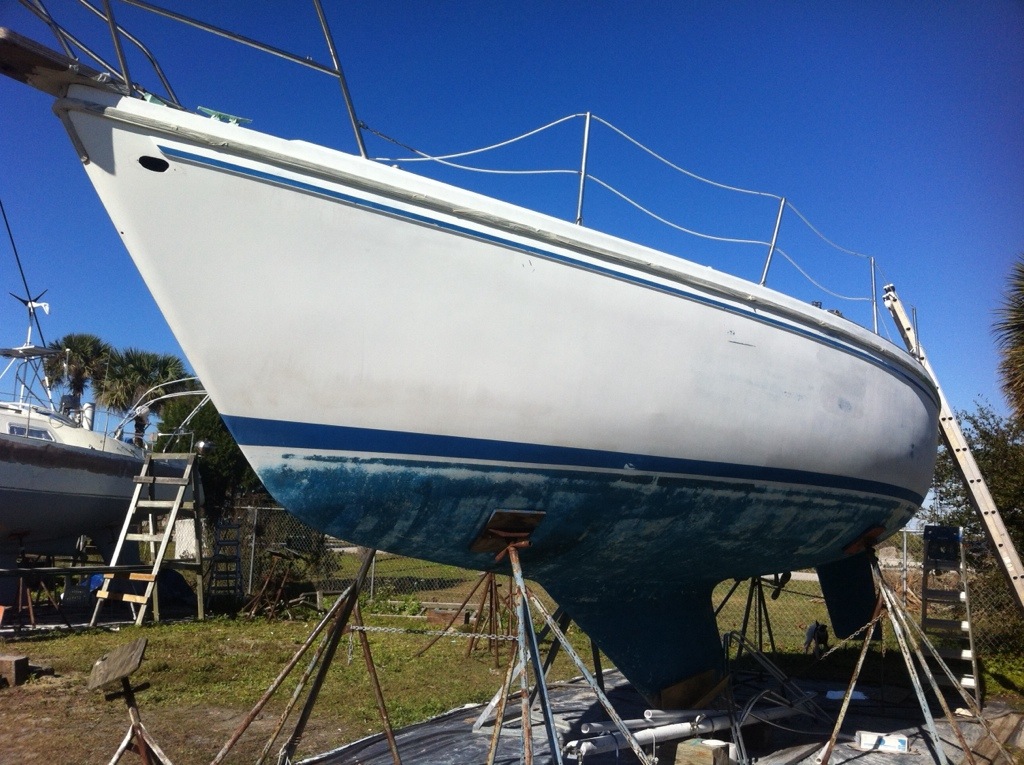
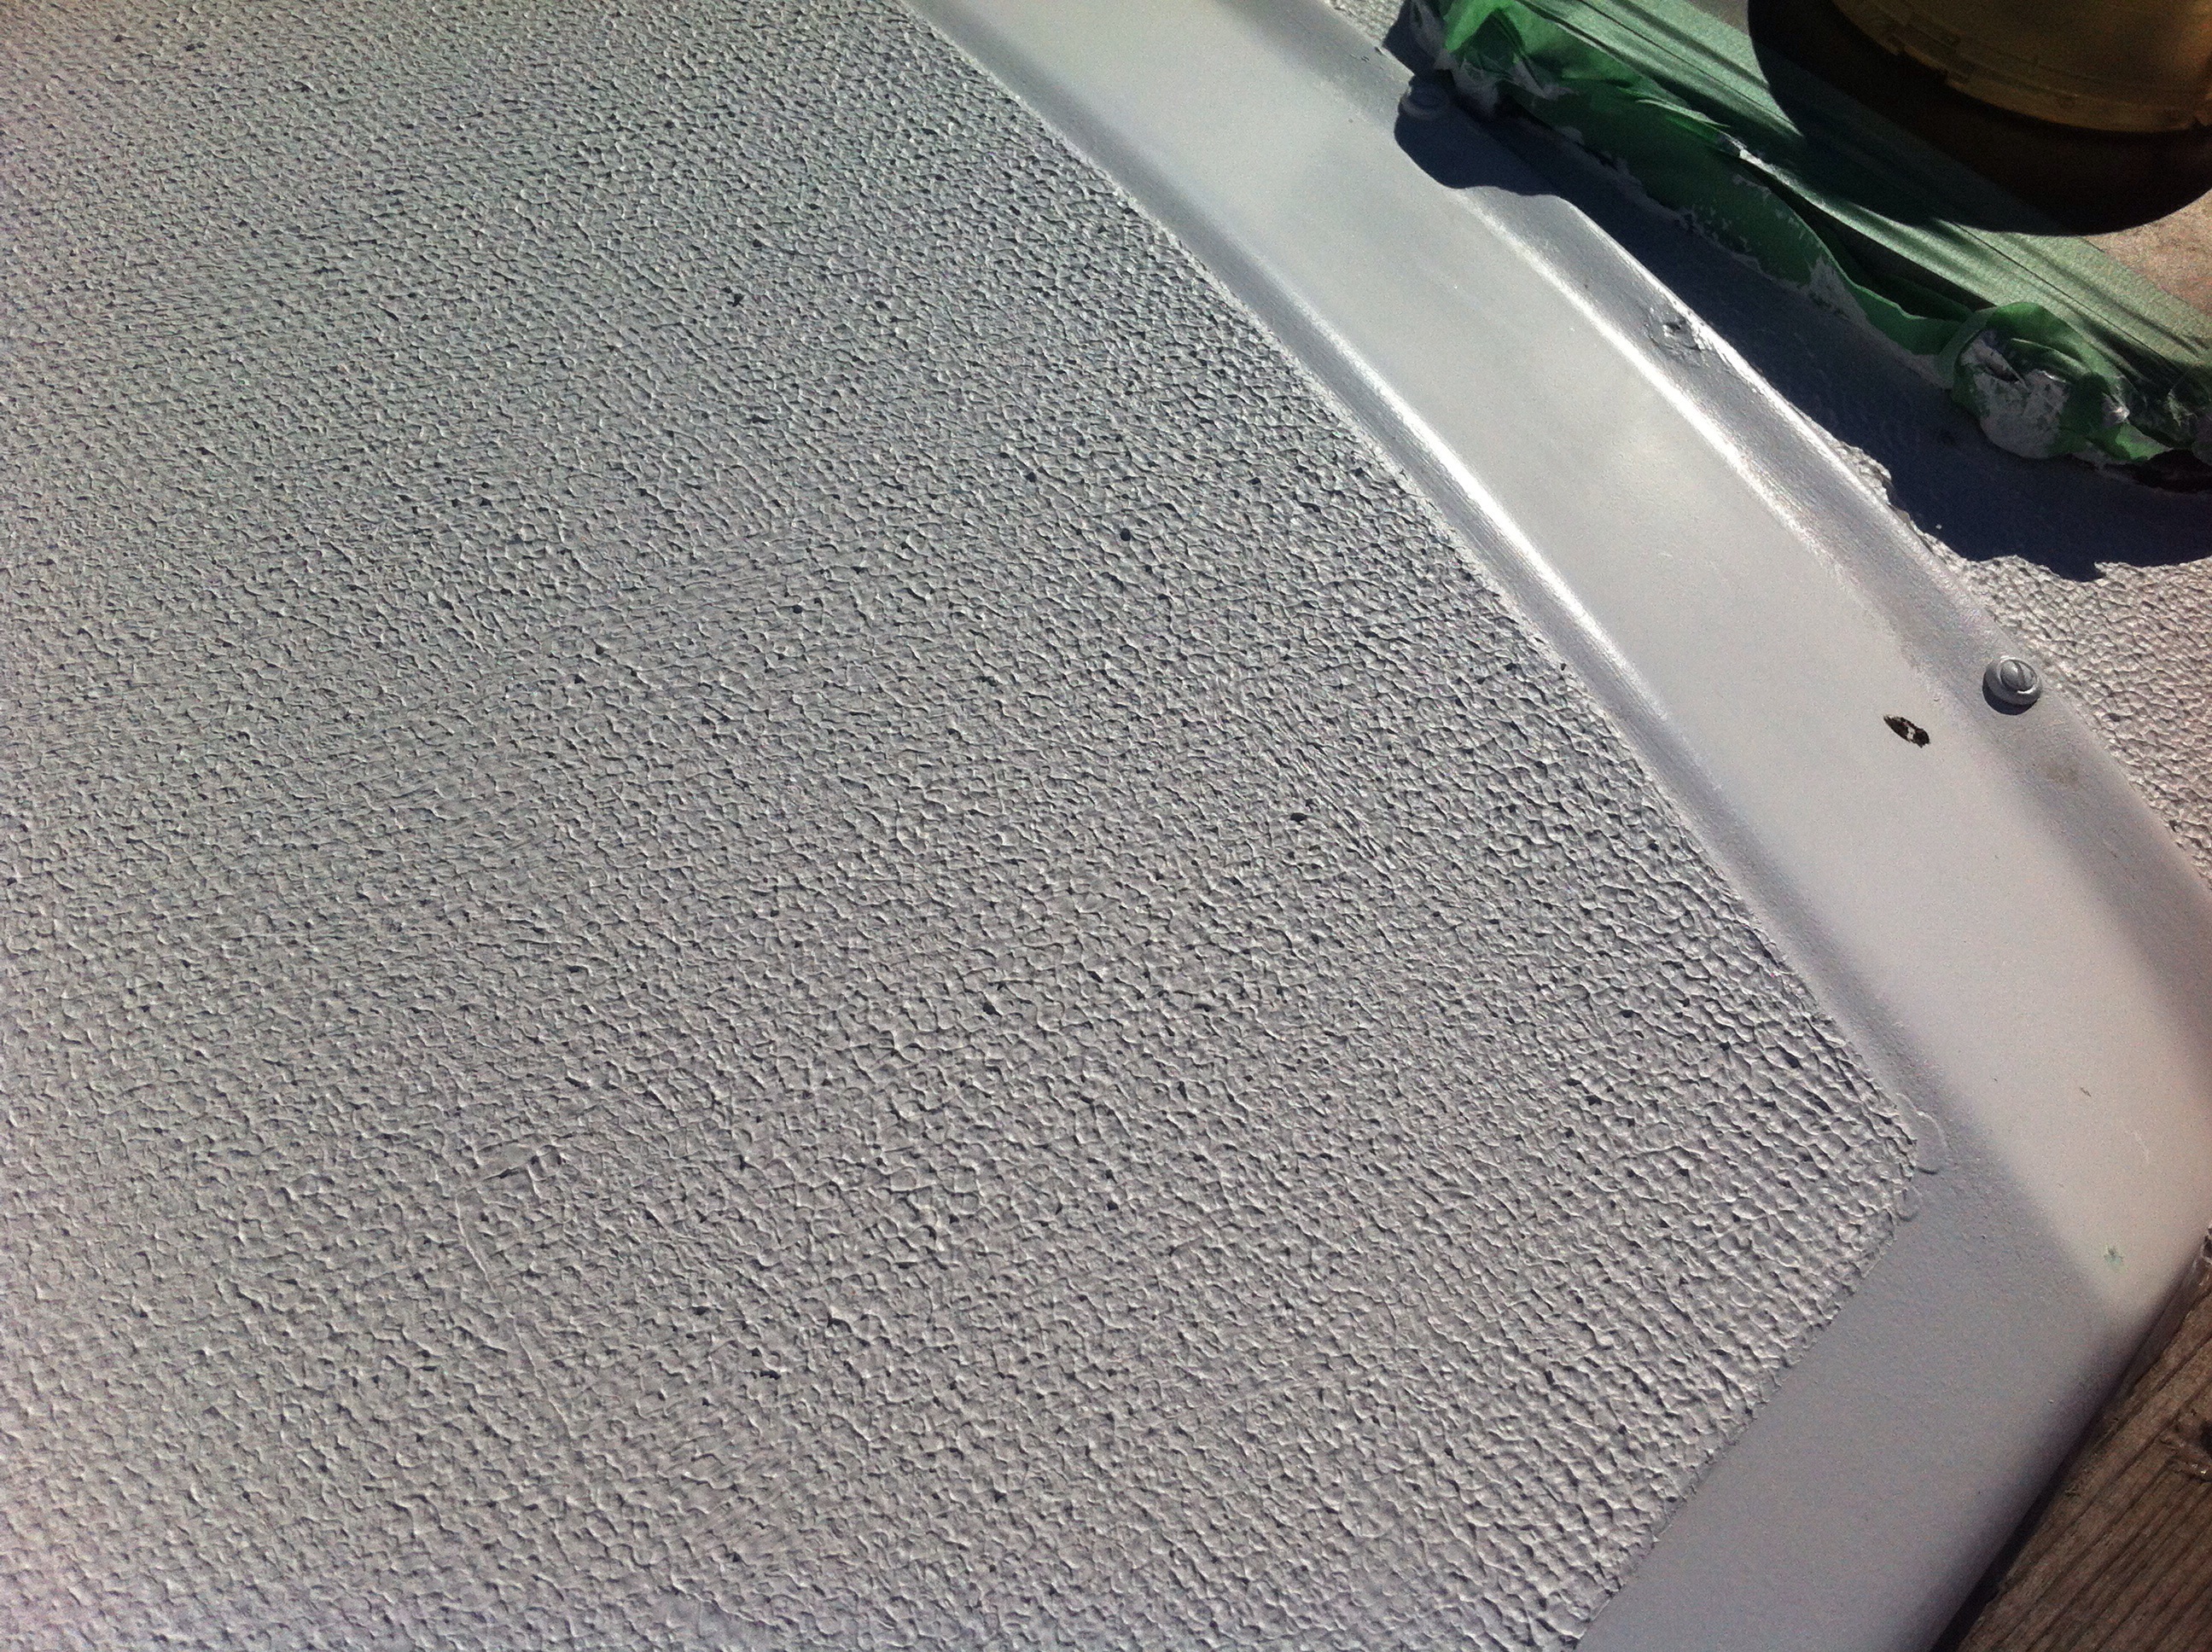
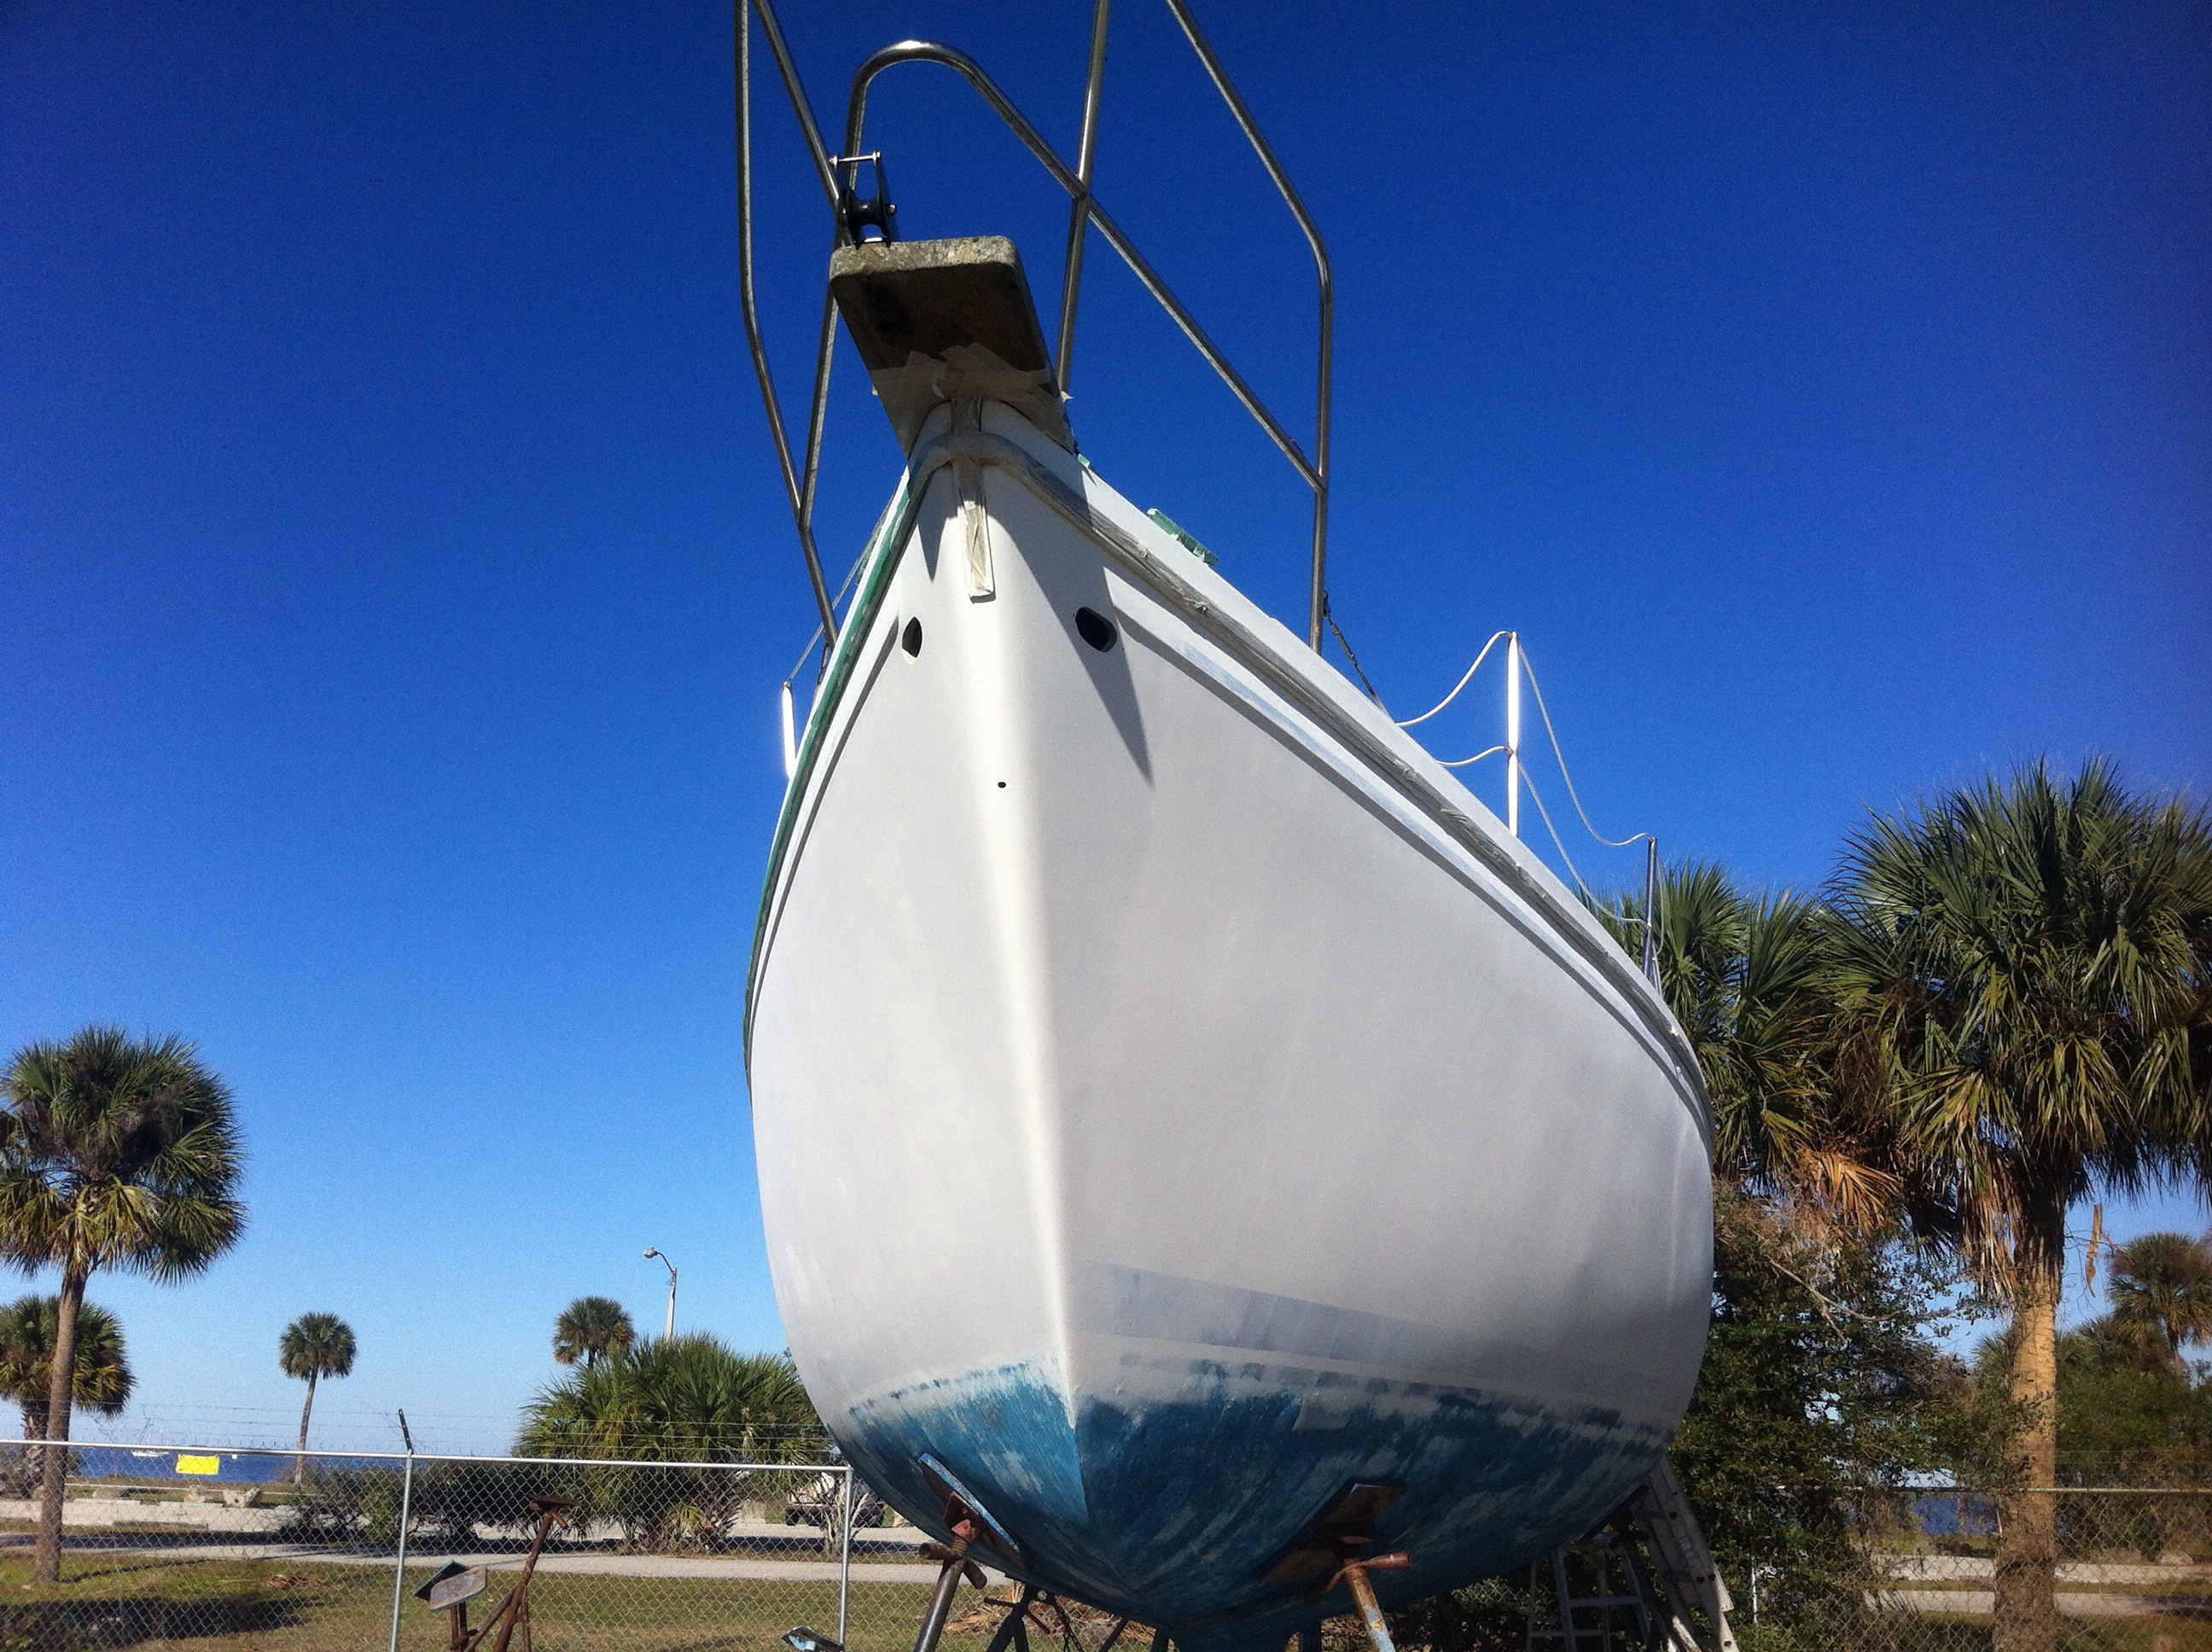
We did manage to get her primed.

20140120-171754.jpg

20140120-171822.jpg

20140120-171837.jpg

20140120-171809.jpg

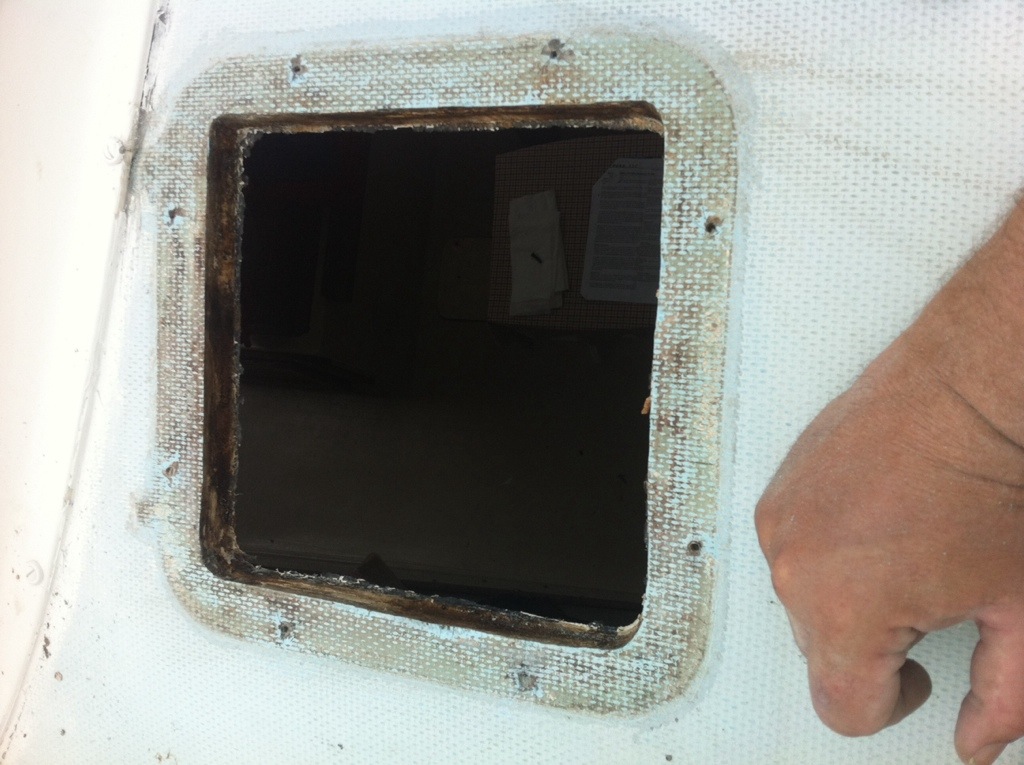
On the transom we had to replace the port side thru hull ( for manual bilge pump) as the old one was broken. This involved me crawling back into the quarter berth and removing a hatch to gain access to the little space that contains the fittings and hoses. Saying it was pretty cramped would be an understatement.

Working with basically one hand I did manage to get things done. However I did drop a pretty nice mag light down into the skeg and we have yet to devise a way to retrieve it.

Inside

Also this weekend we epoxied a piece of plywood and installed it as a bulkhead to keep the waste tank from moving about. My first ever foray into laying fiberglass.

We glassed the bottom directly to the hull and used metal angles to attach it to the cabinetry.

20140120-172705.jpg

We also drilled out the galley sink thru hull and did the prep work to install a salt water foot pump for the galley.

20140120-173135.jpg

20140120-173147.jpg

At the moment we have the sink drain hose run out the raw hole. We plan on replacing the engine raw water intake and will install both thru hulls at the same time.

The holes behind the hose are where the foot pump will be installed. We did a dry fit today.

Food

Saturday night we went to Chef Larry’s. As we did not make reservations we were not able to get a seat. However, to our joy you can order your meal to go. Lori had the Crab stuffed Flounder an I the Prime Rib. The best meal we have yet to eat aboard the boat.

Late Start

We started a bit late today.

Sunday we hope to get primer on the hull. Here she is taped and ready.

20140118-181040.jpg

20140118-181051.jpg

We did get 2 new vent fittings installed. The port side vent for the waste tank and starboard for the fresh water.

20140118-181307.jpg

Also today was the first time we showed up and all the kiwi grip and such is done.

It warrants a picture.

20140118-181524.jpg

A close up of the texture of the sea hood.

20140118-181637.jpg

Just another List….

Things that need doing before she goes back in the water…


  1. Cut and fashion and tab in bulkhead to for holding tank
  2. Plumb in waste system
  3. Install waste vent, water tank vent and replace fuel vent
  4. Install waste pump
  5. Leak test waste system
  6. Drain diesel tank
  7. Replace sink drain thru hull and valve
  8. Install fresh water foot pump and hoses
  9. Install bilge blower & duct work
  10. Verify manual bilge pump operation
  11. Install sound deadener engine space
  12. Install backboards in engine space to attach heat exchanger, filters, strainers, coolant pump, coil
  13. Paint engine space
  14. Replace bilge pump outlet on transom
  15. Paint freeboard
  16. Replace prop with plastic CDI
  17. Clean bottom and prop shaft
  18. Repack stuffing box
  19. Install new Zinc on prop shaft
  20. Paint Bottom
  21. Verify operation of raw water intake thru hull and valve
  22. Lube all thru hull valves
  23. Verify torque on chainplates and replace aft port chainplate with galled threads
  24. Put name on transom

Hatches and sinks.

Back at the Bell today.

We got a few odd jobs done.

Plumbing
Attached a vent line to the new holding tank. As there will be no access to this fitting after the tank is tabbed in.

Positioned the holding tank in its final position, all I need to do now is tab to in. I plan on using a pretty thick piece of ply as it will double as a panel to mount motor bits on.

Started to do rough layout work on the waste plumbing.

Fixed the head sink drain line. We fixed the sink end only to discover that the line drained into the bilge and not the expected thru hull. Lucky for us we have taken to testing everything and assuming nothing actually works or runs the way it should on this boat.

Hatches

I rebed the Starboard side bomar hatch today. This leaves us with just 2 major fittings that need to be redone. Then of course there is the smaller hardware.

First , remove screws.

20140104-220635.jpg

Then use screwdriver to pry up the hatch frame.

20140104-220742.jpg

Clean debris/ sealant from frames and deck.

20140104-220859.jpg

20140104-220920.jpg

20140104-220948.jpg

20140104-221006.jpg

Cut sealant tape to size and place around opening.

20140104-221115.jpg

20140104-221125.jpg

Reinstall frame, walking it down by tightening the screw a little at a time to bed in the sealant.

20140104-221305.jpg

20140104-221356.jpg

Ok, the last photo is actually before the rebed. I forgot to take an after photo and it is now dark out.

Fun fun.